Why Is My Instant Yeast Not Foaming

There’s something genuinely satisfying about the gentle ritual of baking bread—the simple act of mixing flour, water, yeast, and salt feels almost magical. But that magic star...
There’s something genuinely satisfying about the gentle ritual of baking bread—the simple act of mixing flour, water, yeast, and salt feels almost magical. But that magic starts with a key step: proofing your yeast. If you’ve ever stared at a bowl of warm water, sugar, and yeast, only to see a flat, lifeless surface, you know the quiet panic that follows. This topic is so enjoyable because it’s a small moment of science in your kitchen, and when it works, you get the reward of a pillow-soft loaf. The main purpose of proofing is to confirm your yeast is alive, saving you from wasting hours on dough that will never rise. This benefit is huge for weekend bakers, busy parents, or anyone who wants to avoid a disappointing brick of bread. Common variations include using honey, maple syrup, or even fruit juice instead of white sugar to feed the yeast—each adding a subtle flavor twist.
First, check your water temperature. This is the most frequent culprit. Yeast is a living fungus, and it thrives in a cozy, warm environment—think bathtub temperature, not hot soup. If the water is too hot (above 130°F / 54°C), you’ll kill the yeast instantly. Too cold (below 100°F / 38°C), and it will simply stay dormant. The sweet spot is about 105–110°F (40–43°C). If you don’t have a thermometer, test a few drops on your inner wrist—it should feel pleasantly warm, not burning. I’ve learned this the hard way after watching many spoonfuls of yeast sink sadly to the bottom of cold milk.
Second, consider the age and storage of your yeast. That jar of instant yeast hiding in your pantry for a year? It may be dead. Yeast is a perishable product; after its expiration date, the cells lose vitality. Even unopened packets can suffer if stored in a warm, humid spot. Always check the date, and for best results, keep your yeast in the refrigerator or freezer. A quick tip: if you can’t remember when you bought it, buy a fresh batch. It’s cheap insurance for your bread-making dreams.
Must Read
Third, look at your sugar source. Yeast needs simple sugars to produce the carbon dioxide bubbles that create foam. White granulated sugar works perfectly, but so does honey, agave, or even a pinch of maple syrup. Avoid artificial sweeteners—they will not feed the yeast. Also, don’t be heavy-handed; just a teaspoon per cup of water is enough. Too much sugar can actually dehydrate the yeast and slow its activity.
 bread - What to do about yeast that doesn't work? - Seasoned Advice
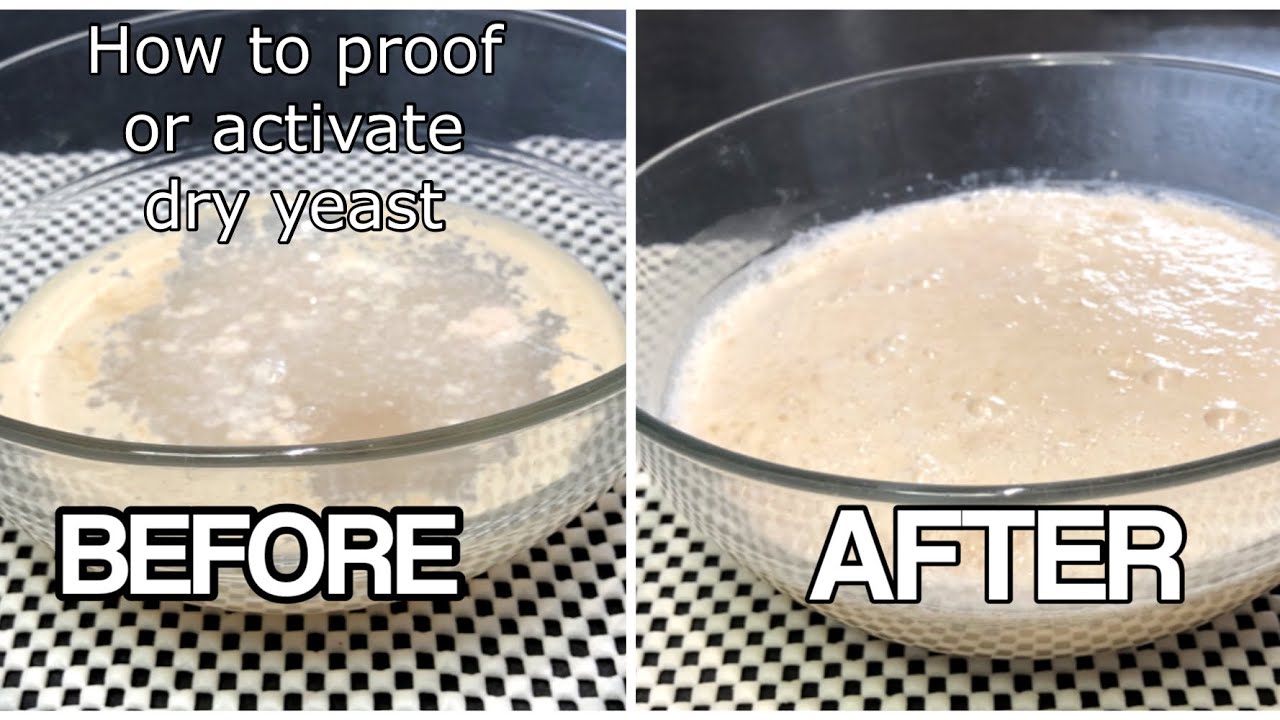
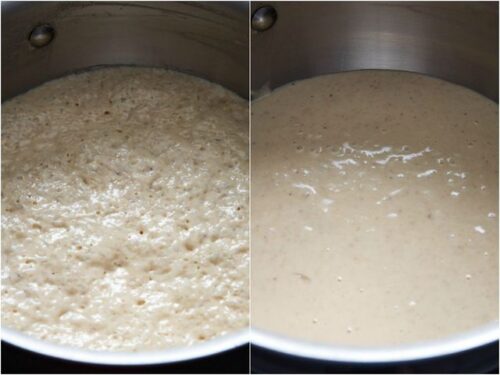
Fourth, give it time—but not forever. After adding the yeast to your warm, sugared water, let it sit undisturbed for 5 to 10 minutes. You should see a creamy foam or frothy layer forming on top, like a soft milkshake. If after 15 minutes you see nothing—no bubbles, no foam, no change—your yeast is a goner. Don’t panic; just discard it and start over with a fresh packet. This simple test is the secret to confidence in baking.
Finally, a little salt goes a long way—but keep it away from your proofing bowl. Salt inhibits yeast activity, so never mix it directly with the yeast and water before it’s foaming. Add salt later, to the flour. Also, remember that instant yeast can sometimes be added directly to dry ingredients without proofing, but if you want to check its viability, always dissolve it first. With these tips, you’ll never again wonder why your yeast isn’t bubbling—you’ll be the master of foam, ready for any loaf.