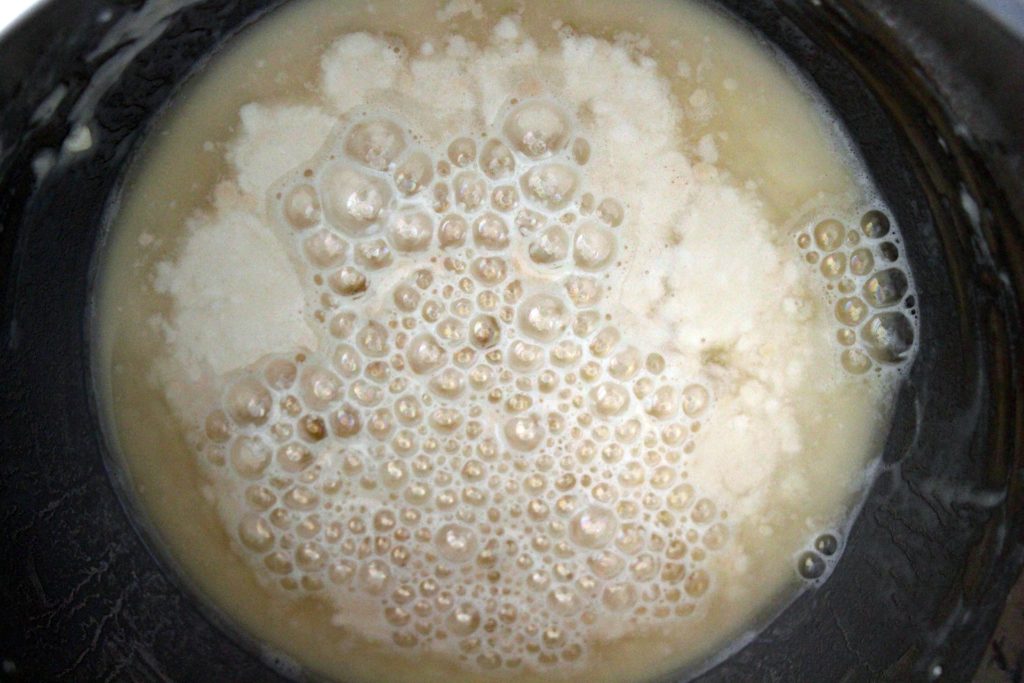
Why Is Yeast Not Foaming

There is a quiet, almost magical satisfaction in watching a simple mixture of flour, water, and yeast transform into a living, bubbling sponge. For home bakers, the moment you...
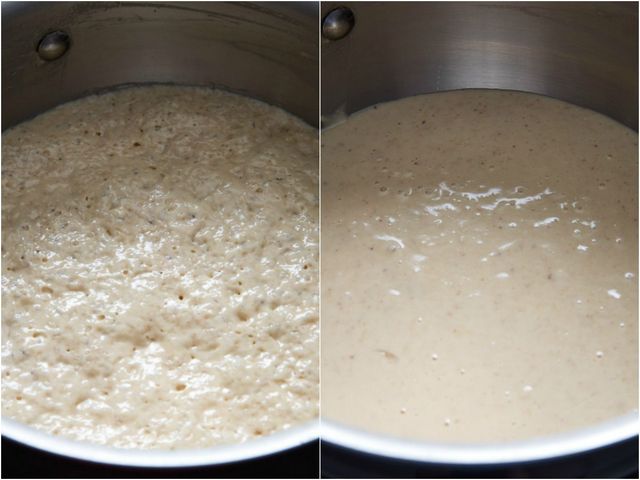
There is a quiet, almost magical satisfaction in watching a simple mixture of flour, water, and yeast transform into a living, bubbling sponge. For home bakers, the moment your yeast activates and produces a foamy, cream-topped layer is a reassuring promise of a light, airy loaf. This fermentation is the heartbeat of baking, converting sugars into carbon dioxide and alcohol, which gives bread its structure and complex flavor. Without that promise of foam, the entire process feels stalled, turning a source of joy into a frustrating puzzle.
If you have combined your yeast with warm water and sugar only to find a flat, still surface after ten minutes, the most common culprit is temperature. Yeast is a living organism, and it thrives in a narrow sweet spot. If the water is too hot—above 130°F (55°C)—it will instantly kill the yeast, leaving it lifeless. Conversely, if the liquid is \too cold—below 70°F (21°C)—the yeast will remain dormant, stubbornly refusing to wake up. Always use a thermometer to aim for a gentle 100-110°F (37-43°C) for the best results.
Another frequent reason for a lack of foam is expired or dead yeast. The packets or jars on your shelf have a limited shelf life, and even if stored correctly, their potency diminishes over time. If your yeast has been sitting for months past its expiration date, the organisms may have already perished. A simple test is to check its expiration date and, if unsure, proof it in a fresh batch of warm water and a pinch of sugar before adding it to your dough.
Must Read
The presence of salt or other additives can also sabotage your foam. If you accidentally added salt directly to the yeast mixture, or if your water contained high levels of chlorine (common in tap water), you may have inhibited the yeast’s activity. For a reliable proof, always keep salt separate from the initial yeast mixture. Instead, mix it with the flour before combining the wet and dry ingredients. If your water is heavily chlorinated, let it sit out for an hour or use filtered water.
Even with perfect temperature and fresh yeast, you might notice slow or uneven foaming due to the type of sugar. Yeast needs a simple sugar to feed on. While granulated white sugar works perfectly, some complex sugars (like those in honey or molasses) may require more time. If you are using a substitution, be patient and give the mixture an extra five or ten minutes. A touch of flour can also sometimes kick-start a sluggish culture.
 what to do if the yeast doesnt foam? - Test Food Kitchen
To explore a successful proofing process on your own, follow this simple routine: start with fresh yeast and warm water at 105°F. Add just a teaspoon of sugar, stir gently, and wait for five to ten minutes. You should see a creamy, bubbly foam rise to the top. If you do not, discard the batch and try again with new water, checking for any of the issues above. Once you master this step, baking becomes a reliable and deeply rewarding dance with nature.
Ultimately, a quiet, unfoaming bowl is not a failure; it is a signal from your ingredients. It invites you to pause, check your temperature, freshness, and environment, and try again. This small act of troubleshooting is a reminder that even the simplest everyday processes reward attention and care. So, next time your yeast sits still, smile at the puzzle, adjust a variable, and watch that beautiful foam appear.